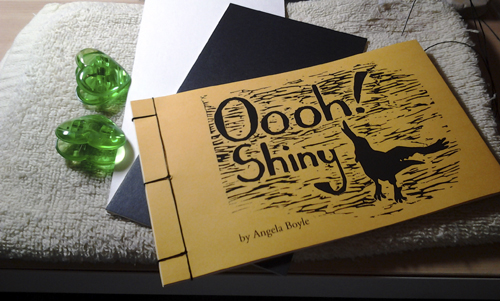
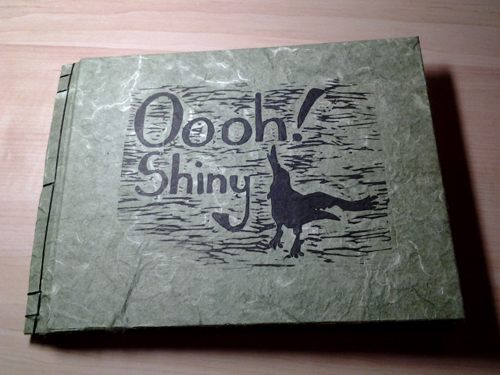
Oooh! Shiny
about.
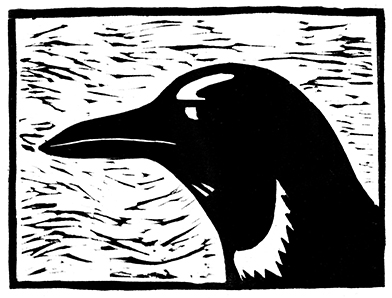
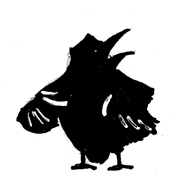
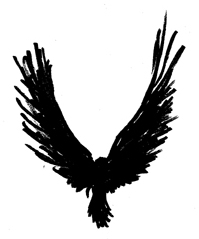
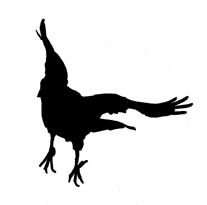
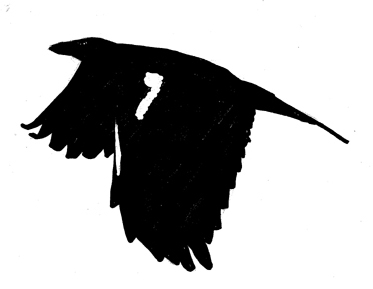
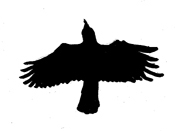
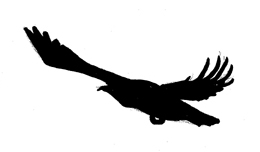
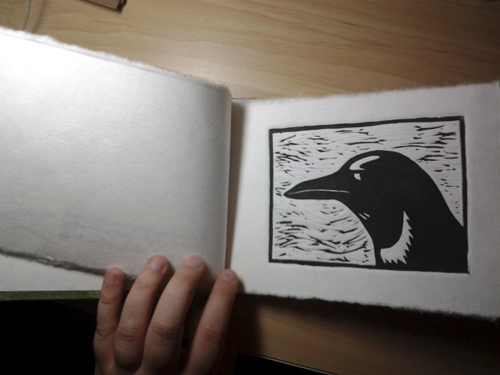
A couple of friendly crows discover some fantastic refuse and have to fight another group of crows for the privilege of sifting through it.
Creator: Angela Boyle
Publication Date: September 2011
Format: BW, 14 pages, 4.25 inches tall x 5.5 inches wide
Drawn using linocut, lettered by hand.
studies.
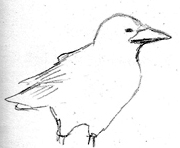
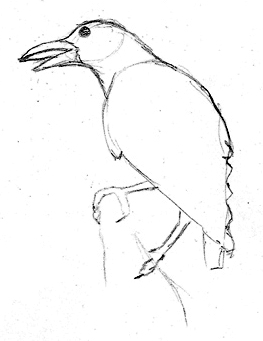
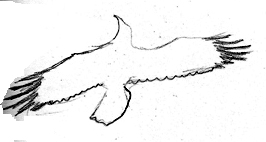
Before I could draw even the images that would end up on the linoleum blocks, I drew some sketches of crows to practice their shape. They are pretty cute. The crows. Not the sketches.
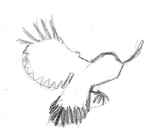
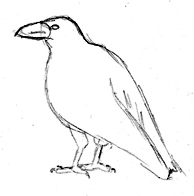
Pencils to get what the crows really look like. Inks to get their shapes as they would look as block prints. Just in Sharpie.
process.
Printed from linoleum block prints on mulberry paper. The best of each page was scanned and used to create a computer-printed copy. The original pieces were bound into eight, special, hard-cover editions.
I spent the summer of 2011 carving the linoleum blocks and driving from Seattle all the way to Bellingham to press the prints every Saturday. All the text in the comic is hand-written on each copy of the original.
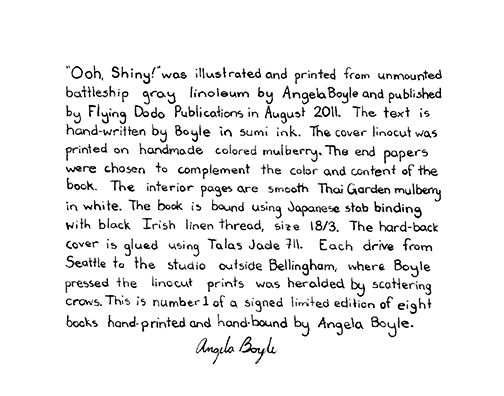
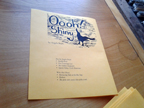
This is the colophon in the back of the special editions.
creation.
It is not quick to make linoleum block prints. I did this nearly every Saturday for the entire summer of 2011. I could only print eight copies of about three or four pages each day.
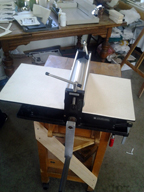
printing press
My mom’s printing press. She usually used it for mono-type prints.
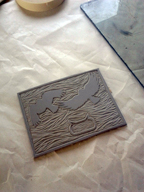
linoleum block
Before inking
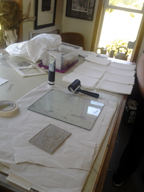
inking station
Prepped and ready to go. From left to right: linoleum, masking tape, glass, ink, roller, paper
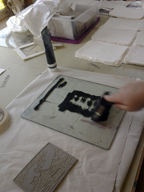
ink prep
You have to roll out the ink with the roller until it is nice and smooth. I say ink. It’s more like acrylic paint.
inking station
Prepped and ready to go. From left to right: linoleum, masking tape, glass, ink, roller, paper
ink prep
You have to roll out the ink with the roller until it is nice and smooth.
drying
You can’t just willy-nilly toss them into piles after printing. The ink needs time to dry.
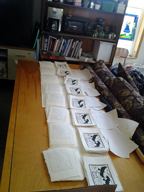
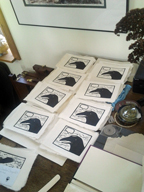
organizing
Finished pages organized into books. I honestly don’t remember if I had a method.
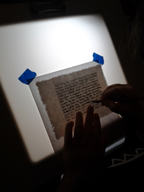
lettering
Every page is hand lettered using a light box over a page with the lettering printed out so I could trace it and not make a billion mistakes.
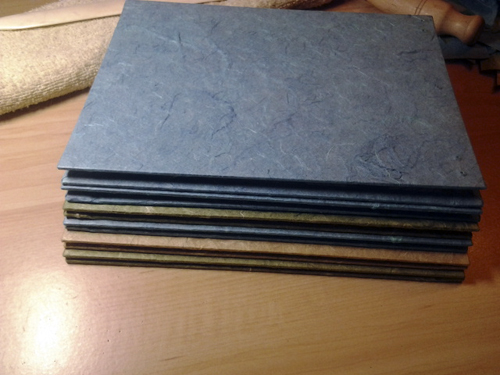
soft covers.
Printed and folded but not cut cover paper and interiors. Because I was doing Japanese stab binding, I needed a lot of binding space. To that end, I used legal paper (14 inches) instead of letter (11 inches). To follow tradition, I also printed on only one side of the paper folded them. So the raw edge is in the binding and the fold is outside.


hardcovers.
Binding the books was probably fastest. Both the computer printed copies and the special editions of the original are bound using traditional stab binding.
back cover
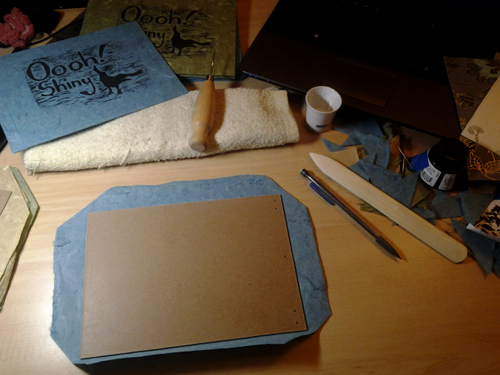
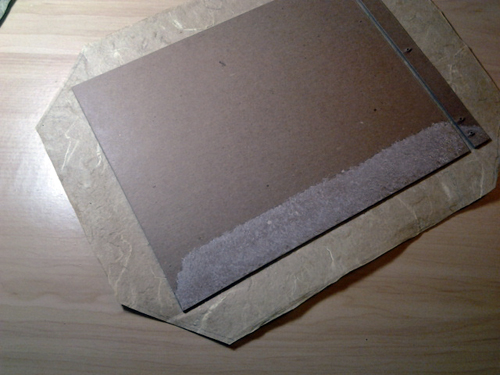
Glued one side of the chipboard (like nice cardboard) to the colored paper back cover.
front cover
So that the front cover would fold open, I had to very carefully cut a bit and leave a gap.
glue
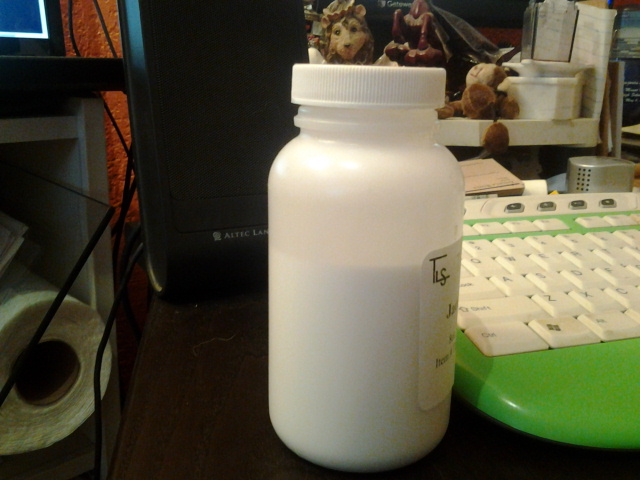
My wonderful book-binding glue. Strong but pliable. I might actually still have this bottle…
end papers
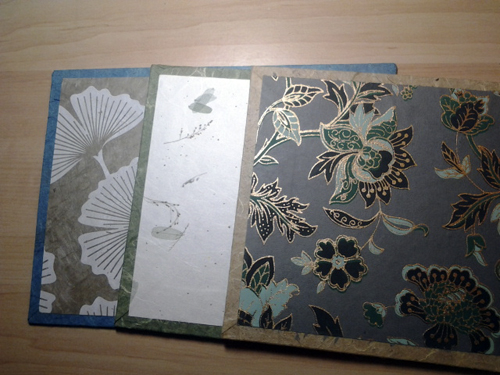
I couldn’t pick, so each book got different end papers. That was fun shopping trip.
glued covers
That there is a pile of glued covers just waiting for pages and thread.

bound
Inside cover and title page! Look at that opening.
page 1
First page in one of the hardcover books. Look at those lovely raw edges on the paper.
a book is born
To this day, this is one of the projects I am most proud of. It is ridiculous.
Reprint
In 2018, pages 9–12 were reprinted in Raven Chronicles, Vol. 26: Last Call.
Here are some videos of the creation process.